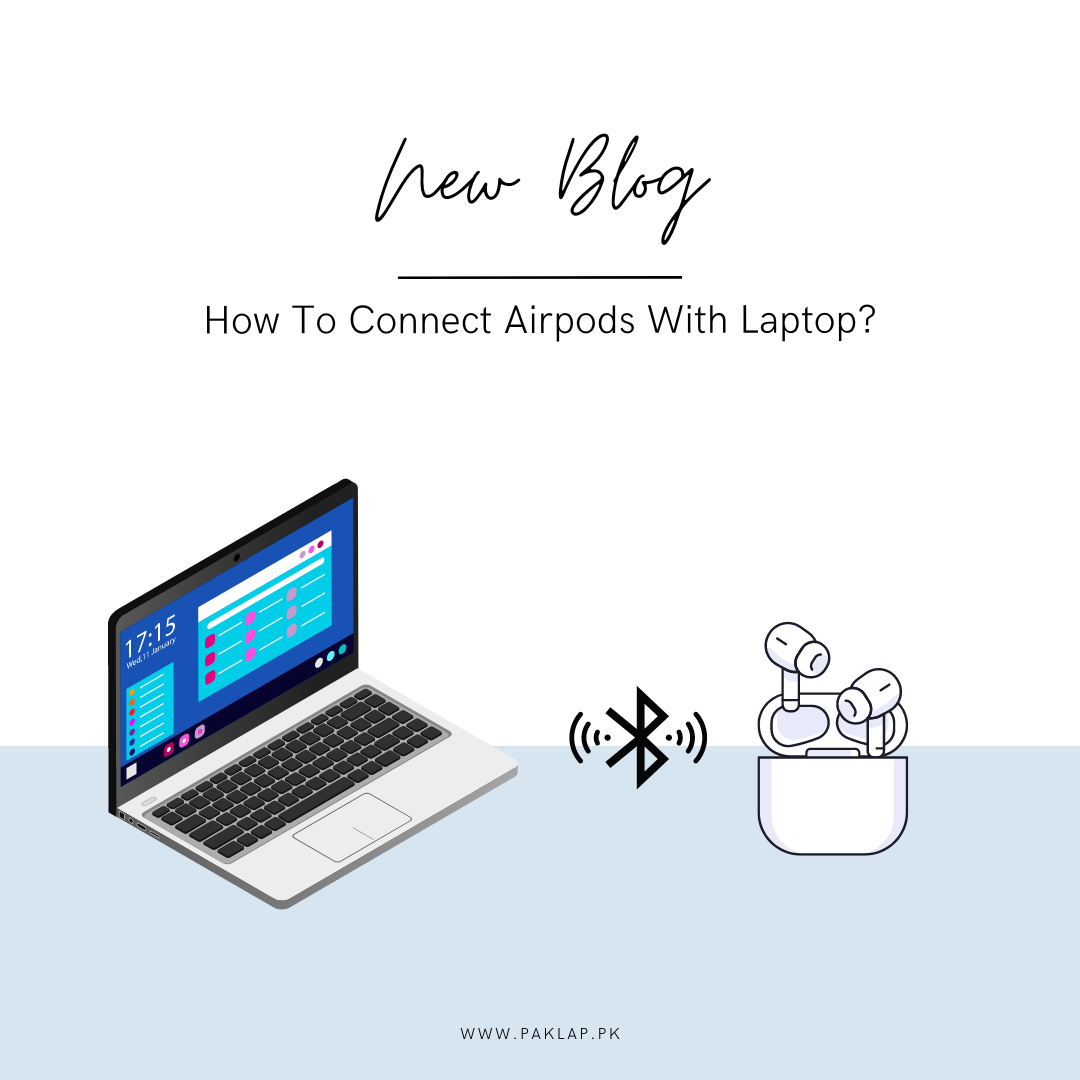
How To Connect Airpods with Laptop?
Since the AirPods made their much-awaited debut in December of 2016, the first generation of them were seen to be taking the tech world by storm. In no time, these took the place as one of the most coveted accessories of Apple.
These little buds are given a sleek design along with wireless connectivity which not only were a hit with the people using iPhones but also helped in spreading a spark of innovation across the industry.
Being inspired by the runaway success of these little tech masterpieces, the major players quickly jumped into the earbud market - for example, you can see Sony, Bose, Panasonic, and Sennheiser quickly sending out their offerings.
If you are not an Apple user, you may be happy to know that even though these gadgets are mainly optimized for Apple products, they are still versatile and have the capability to pair up with any Bluetooth-enabled device.
This means that whether you are using an iPhone, an Android phone, or even a laptop, these little gadgets will help deliver high-quality audio along with hassle-free connectivity. So, whether you are just listening to a podcast, joining an important meeting on Zoom, or relaxing by listening to your favorite songs, this will help provide you with a seamless experience on all the different platforms.
How To Set Up Apple AirPods with Laptop?
So, now that you have your beloved earbuds, it is time to set them up so that you can use them. While you may have simply connected these tiny gadgets with the mobile without any hassle, it may seem like a task to do the same with your laptop. However, it is not that difficult.
Prepare Air pods for Connectivity
Now, before you even open up your laptop, you need to make sure to place your AirPods into their charging case, then just pop the lid close. Give a few seconds to it so they can power up. Also, make sure that your earbuds are charged, if nothing then it should at least have 20 percent of the battery so that you can have a seamless pairing experience.
Activate Bluetooth on Your Windows Laptop
Before you pair up your earbuds with the Windows laptop, you need to make sure that Bluetooth is enabled. For this, first, you need to go to the settings of your laptop. From there, search for a tab named Devices and tap on it.
There you will see an option named Bluetooth & Other Devices; you are supposed to tap on it.
At the very top, you will see an option named Add Bluetooth or other device. Go on and tap on it to get things done.
Activate Pairing Mode
To begin pairing, you need to gently open your Apple Airpods case. Now try to locate the small, circular button on the back, when you find it, you are supposed to press and hold it.
Keep holding until you notice LED lights flashing inside the case (for older ones) or on the front of the case (for AirPods Pro). This action will help signal that your earbuds are now in pairing mode and are perfectly ready to connect to your Windows laptop. This step ensures seamless wireless connectivity for your listening pleasure.
Pause Until the Light Of The Indicator Turns White
Now, just give a moment to the indicator light so that it can transition to a solid white color. This helps to signal that your AirPods have successfully connected to your Windows laptop, which ensures that you are ready to enjoy wireless audio seamlessly.
Connect your Laptop with Apple AirPods
After a few seconds, you will see a list of available Bluetooth devices that will appear. Now, you can look for yours in the list and click on their icon.
Ready to Go
Once you have selected your earbuds, you will be shown a pop-up screen that will confirm "Your device is ready to go." Now, you are supposed to click on "Done." When you do this, your earbuds will now be automatically connected to your laptop whenever they find out that they are in range. If you see that they are not connecting automatically, you need to simply go to the list of available devices and pair them up from there.
Setting them up is simple and quick. After the initial pairing, which only takes a few moments, your devices will remember each other. This seamless connection allows you to effortlessly switch between devices and enjoy uninterrupted audio experiences whenever you need them.
Removing Airpods from Your Laptop
If these earbuds ever fail to connect or you need to remove them from your system, you can do so easily. Navigate to the Bluetooth & Other Devices menu, locate your earbuds, and click on them.
Then, select "Remove device" If you decide to reconnect them later, simply follow the steps outlined above. This process ensures you can manage your devices seamlessly and maintain optimal connectivity.
How to Connect Airpods to Your MacBook
Connecting your AirPods to your MacBook is seamless, especially if they're already paired with your iPhone through Apple Handoff. Simply open your Air Pods case near your MacBook, and they should connect automatically. If not, follow these steps:
Prepare Them Up:
For this, you need to place both earbuds into the charging case as well. After that, open up the lid. For people who are using AirPods or AirPods Pro, you need to press the setup button and hold it for a while till you see the flashing of white light. If you are using AirPods Max, then you have to press and hold the noise control button instead.
Enable Bluetooth on Your MacBook:
On your MacBook, open the Apple menu, go to System Preferences, and select Bluetooth. Ensure that it is turned on.
Connect Your AirPods:
In the Bluetooth settings on your MacBook, locate your AirPods in the Devices list. Click on them and then click "Connect."
This straightforward process ensures your AirPods are ready to deliver high-quality audio seamlessly on your MacBook. If you've previously connected them to your iPhone, Apple's Handoff feature simplifies the connection process, making it effortless to switch between devices.